

 The clock is ticking for Valentine’s Day planning, cutie pies (wink wink “pie”…get it?!)
Today was the perf scene for baking… I had the day off, the snow was coming down, & my kitchen just seemed like the coziest place to spend my afternoon.
Ok. So some of you kitchen-haters are probably laughing right now but I thoroughly enjoy food and I thoroughly enjoy making it for others. Capeesh?! We all have our thang.
Now TBH, baking is usually not my strongest area. I can whip up a mean entree/side dish without any measuring at all… but my desserts… ehhhh, not so much. Probably due to the fact that I think measuring devices are for the birds.
But these lil’ pies… they turned out amazeballs.
I have a soft-spot for cherry pies. I used to have a cherry tree in my backyard when I was a youngin’… until it got struck by lightening. #BuzzKill.
Here’s the recipe, love birds. Your sig other/girlfriend/bestie/family will love you to pieces for this one.
x, j
INGREDIENTS
Martha Stewart’s Pie Crust Ingredients/Directions HERE
Course White Sugar
1 Beaten Egg
Cherry / Peach / Blackberry Preservatives
(Other filler ideas: Ricotta Cheese, Apple Pie Filling)
HOW TO
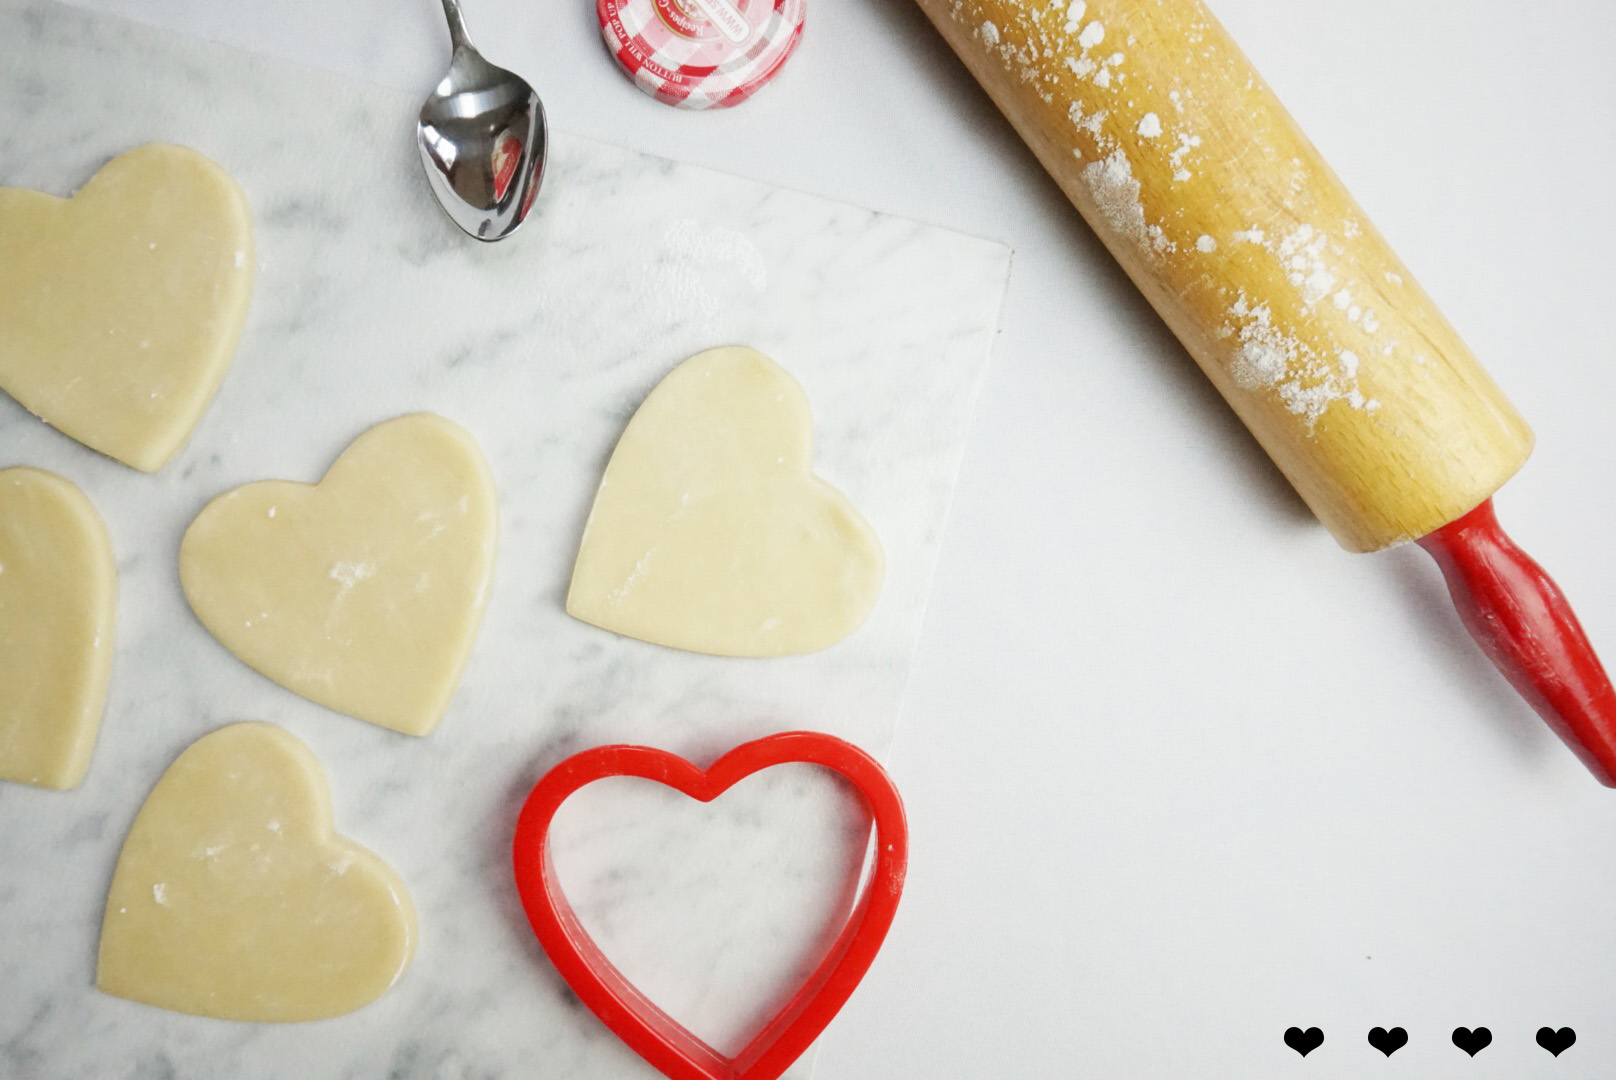
Make your pie dough (can use store-bought as well) and refrigerate in plastic wrap for 1 hour.
Using a rolling pin & flour to prevent sticking, roll out dough to 1/4 inch or slightly thinner.
Use your cookie cutter to make as many hearts as you can. You want 2 hearts for each pie.
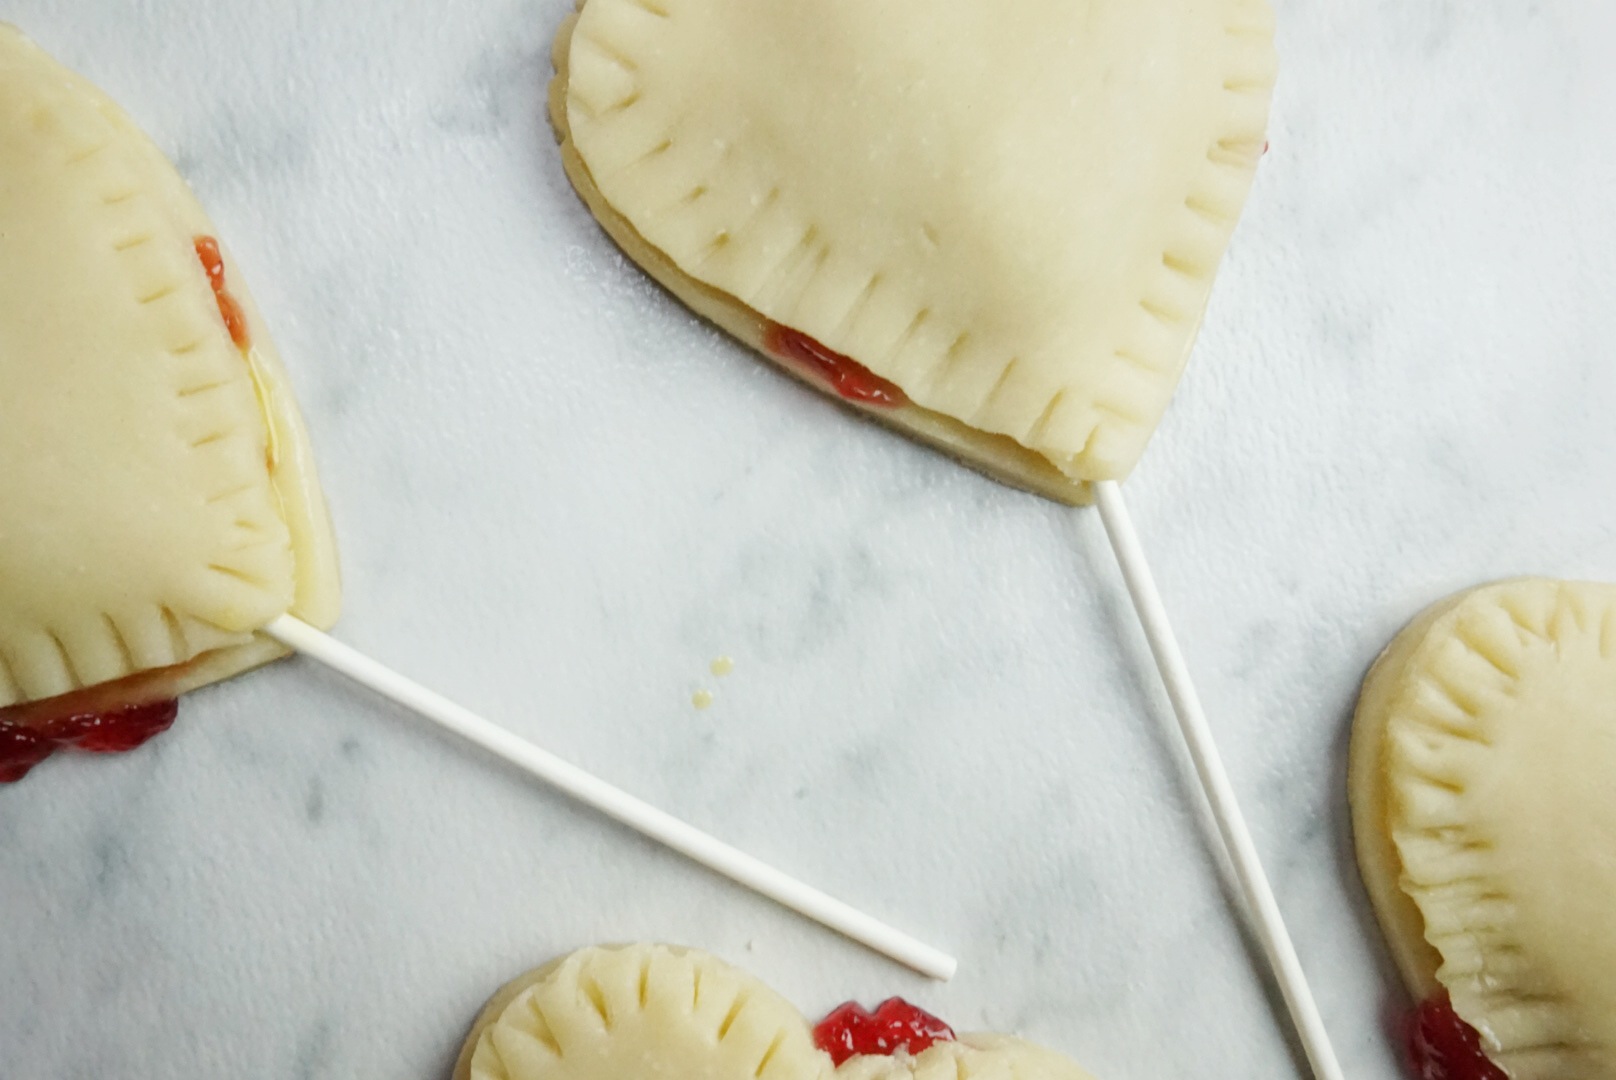
Using your egg wash, paint around the edges of 1 heart. This will help to seal the pie.
Dollop your filling into the center.
Truthfully, I wouldn’t recommend using a pop-stick. The pie was too heavy to hold up, anyway. If you choose to do so (rebel!), this is the step where you want to press the stick into the bottom crust.
Place your second heart on top of the other one with filling.
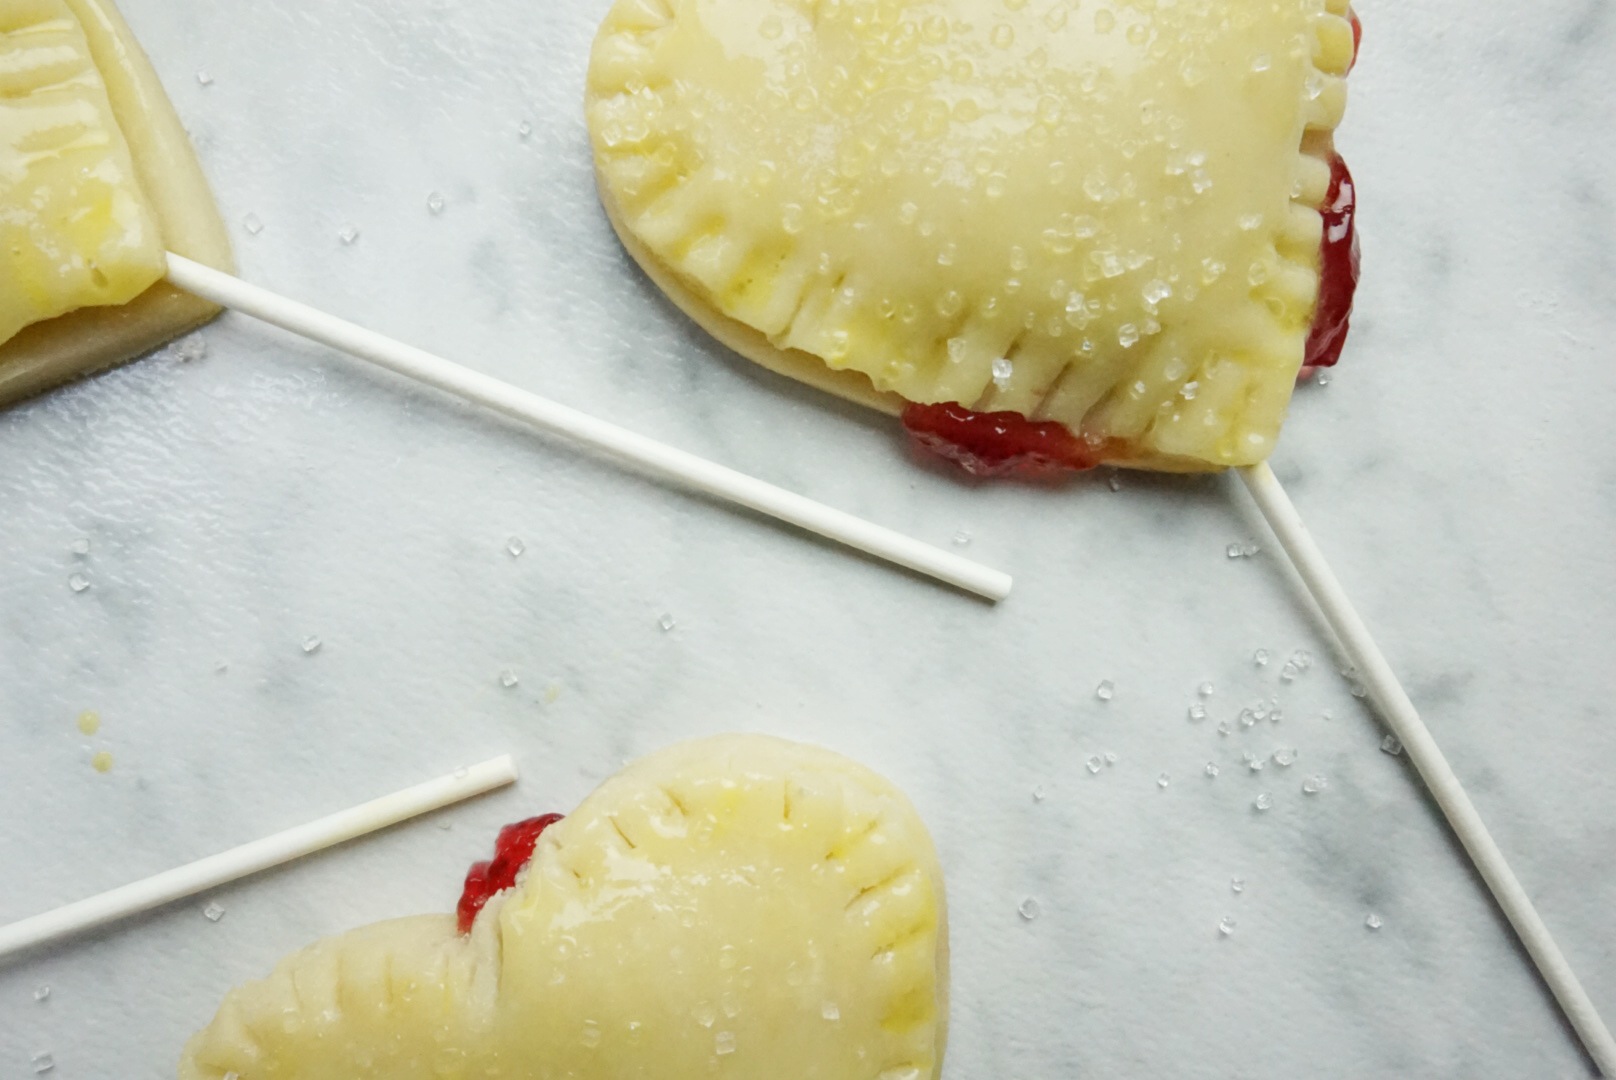
Using a fork, seal the edges.
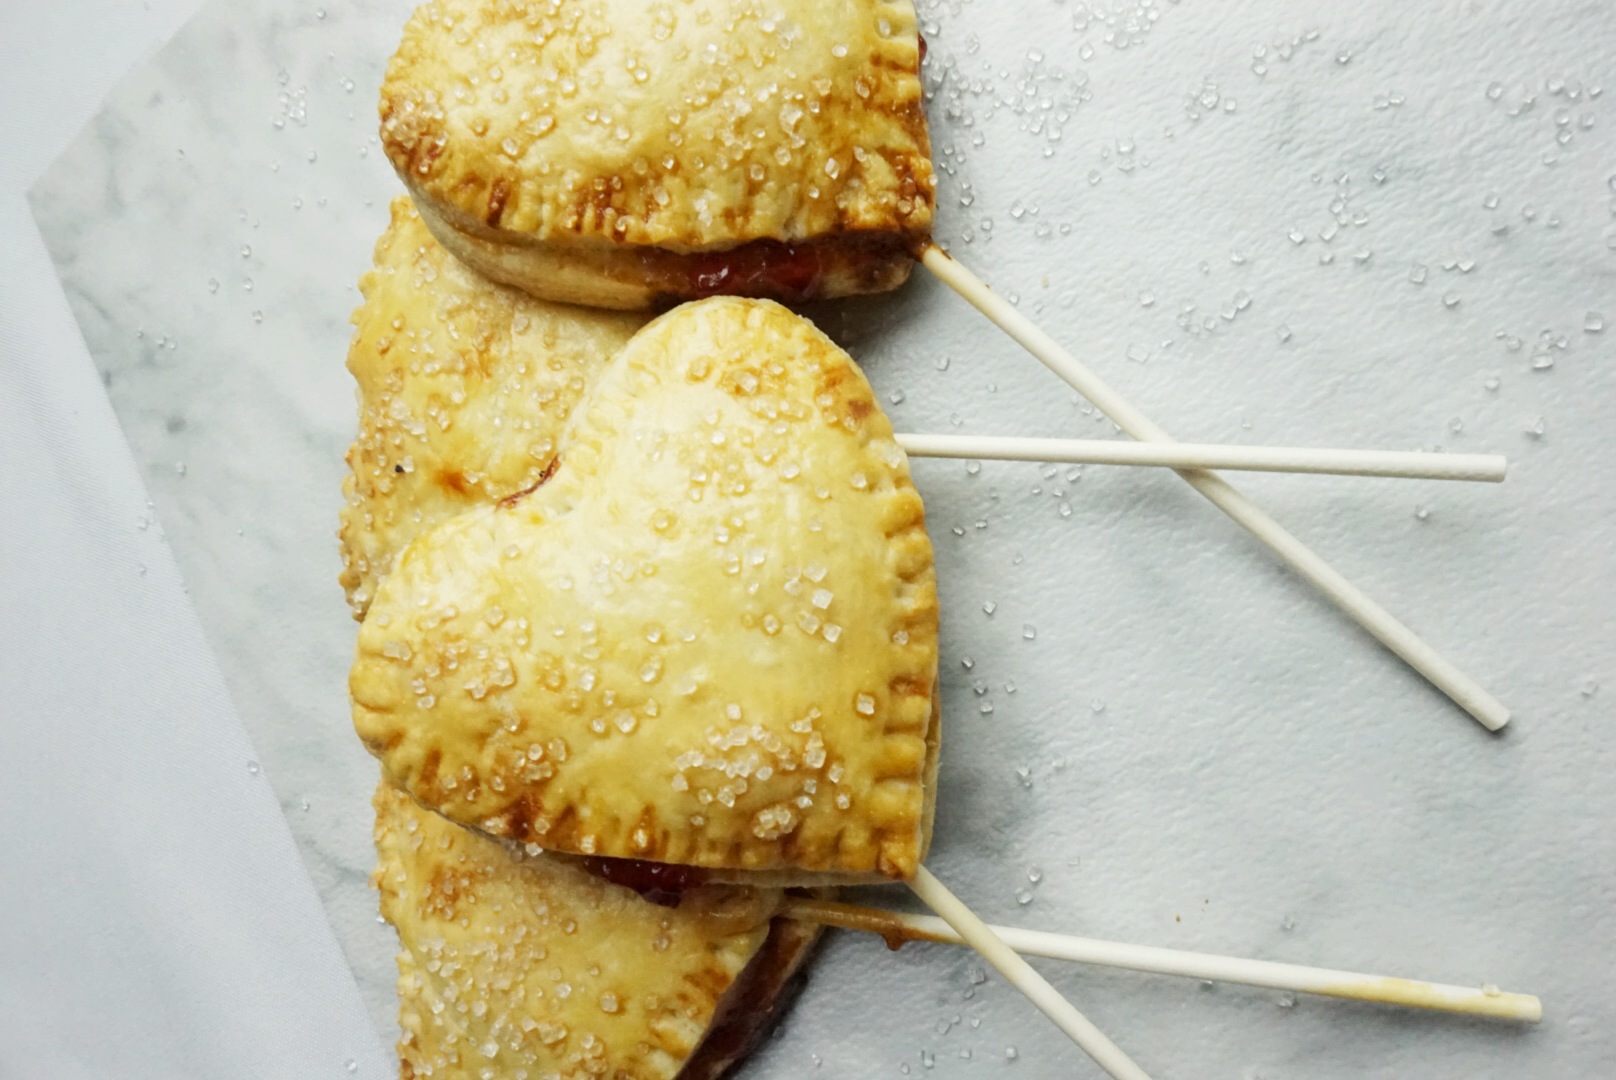
Brush the rest of your egg wash on top & sprinkle with coarse white sugar.
Bake for 15-25 minutes until golden brown (every oven is different though, so keep an eye on them!)


Oh, these are the cutest things ever! Might have to make some!
May
Drops of Brandy
xx
Thanks girl! Lemme know if ya do!
Looks delish! I’m planning to make something similar next week but not in pop form!
Jamie recently posted…Jimmy Fallon’s Lip Sync Battle
Nice! Thanks for stopping by :)
I just published my post and linked to yours!
Jamie recently posted…Heart Pie-Cookies
Just saw it! they turned out awesome :) marshmallow sounds good for filling!
These are fantastic!!!! pinned to my just desserts board. Hugs!
Katherines Corner recently posted…Make It Monday Week Thirty Eight
Aw I love that you love it!