
FINALLY.
The post you’ve all been asking for.
Back when Josh and I were hunting for bedroom furniture, we were having a really hard time finding the perfect set with the right price tag attached. Of course we loved some of the pieces from places like West Elm and Restoration Hardware. But we all know that those cost a pretty penny and we couldn’t justify pulling the trigger on something like that at the time. We searched high and low, through the thousands of pages on Wayfair, and finally settled on tackling a DIY project.
We thought about sanding down used furniture from Facebook Marketplace, Craigslist, or LetGo. But again, we were having trouble finding a style that we liked on those sites. Not to mention, the sanding process to do it that way probably would have been super tedious and annoying. But if you’re up for that, that’s definitely an option.
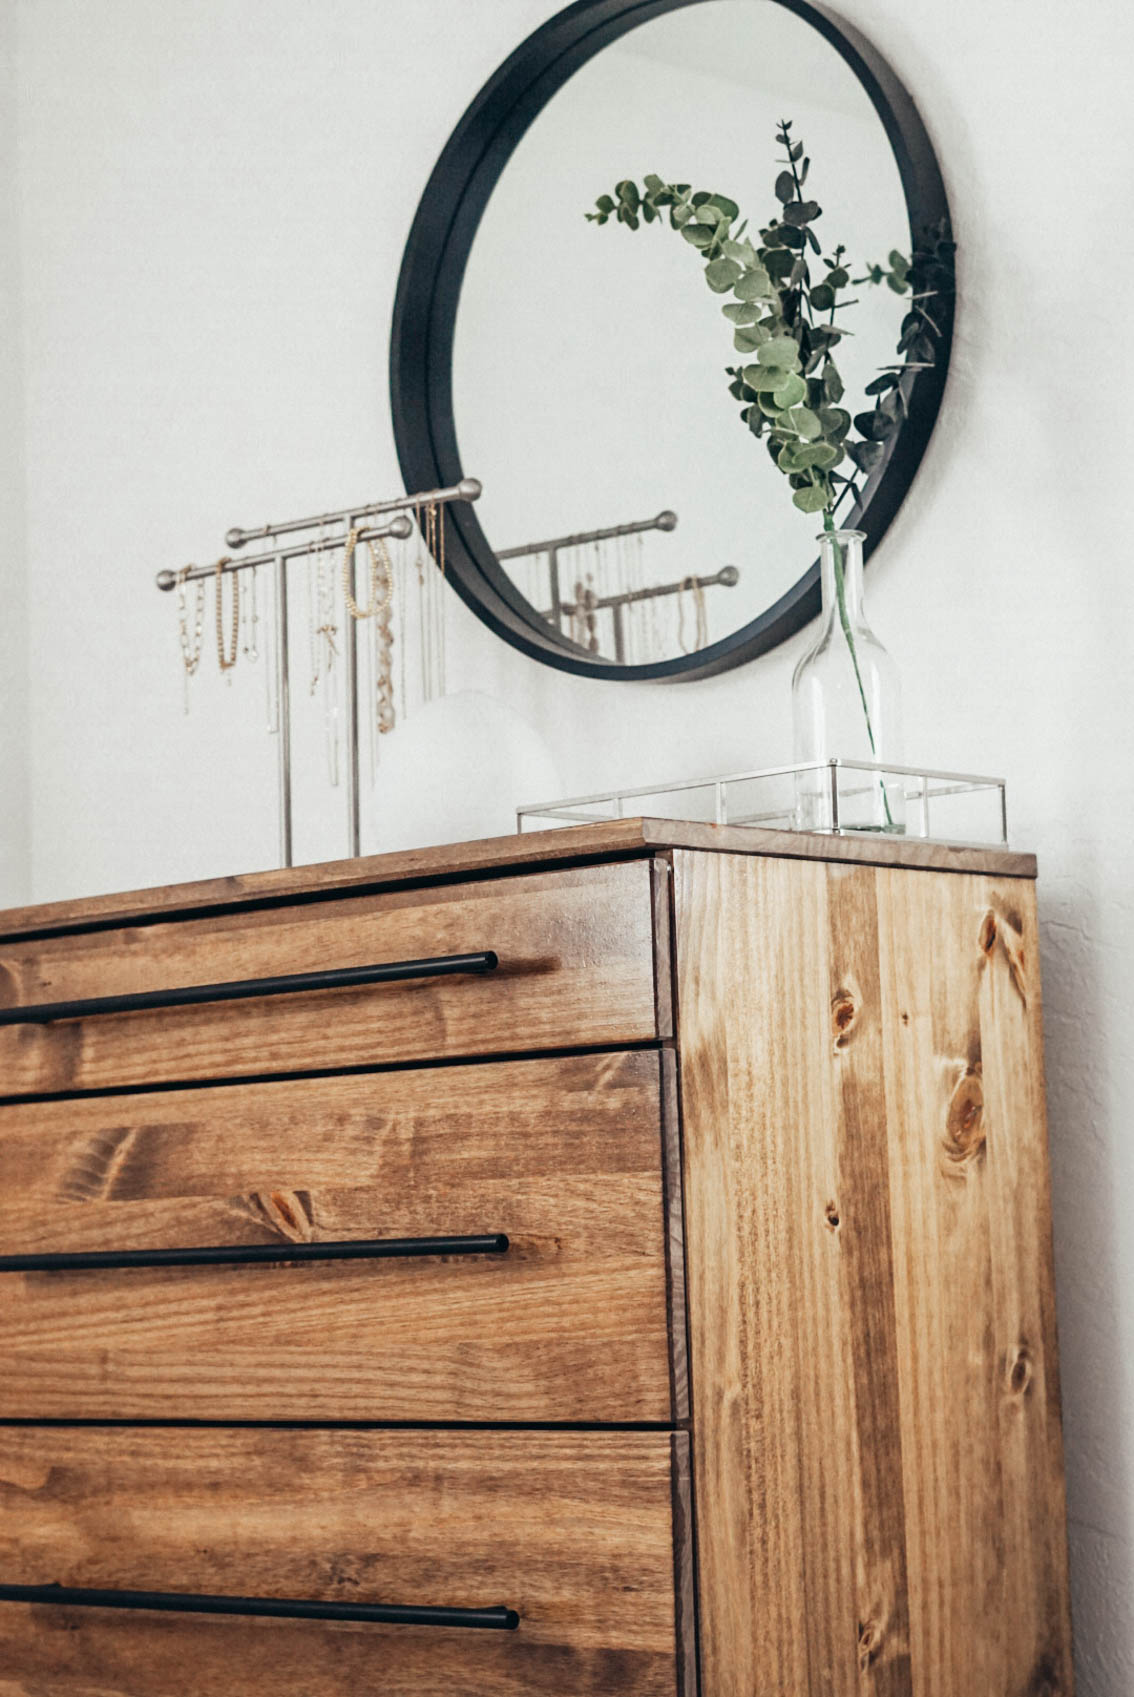
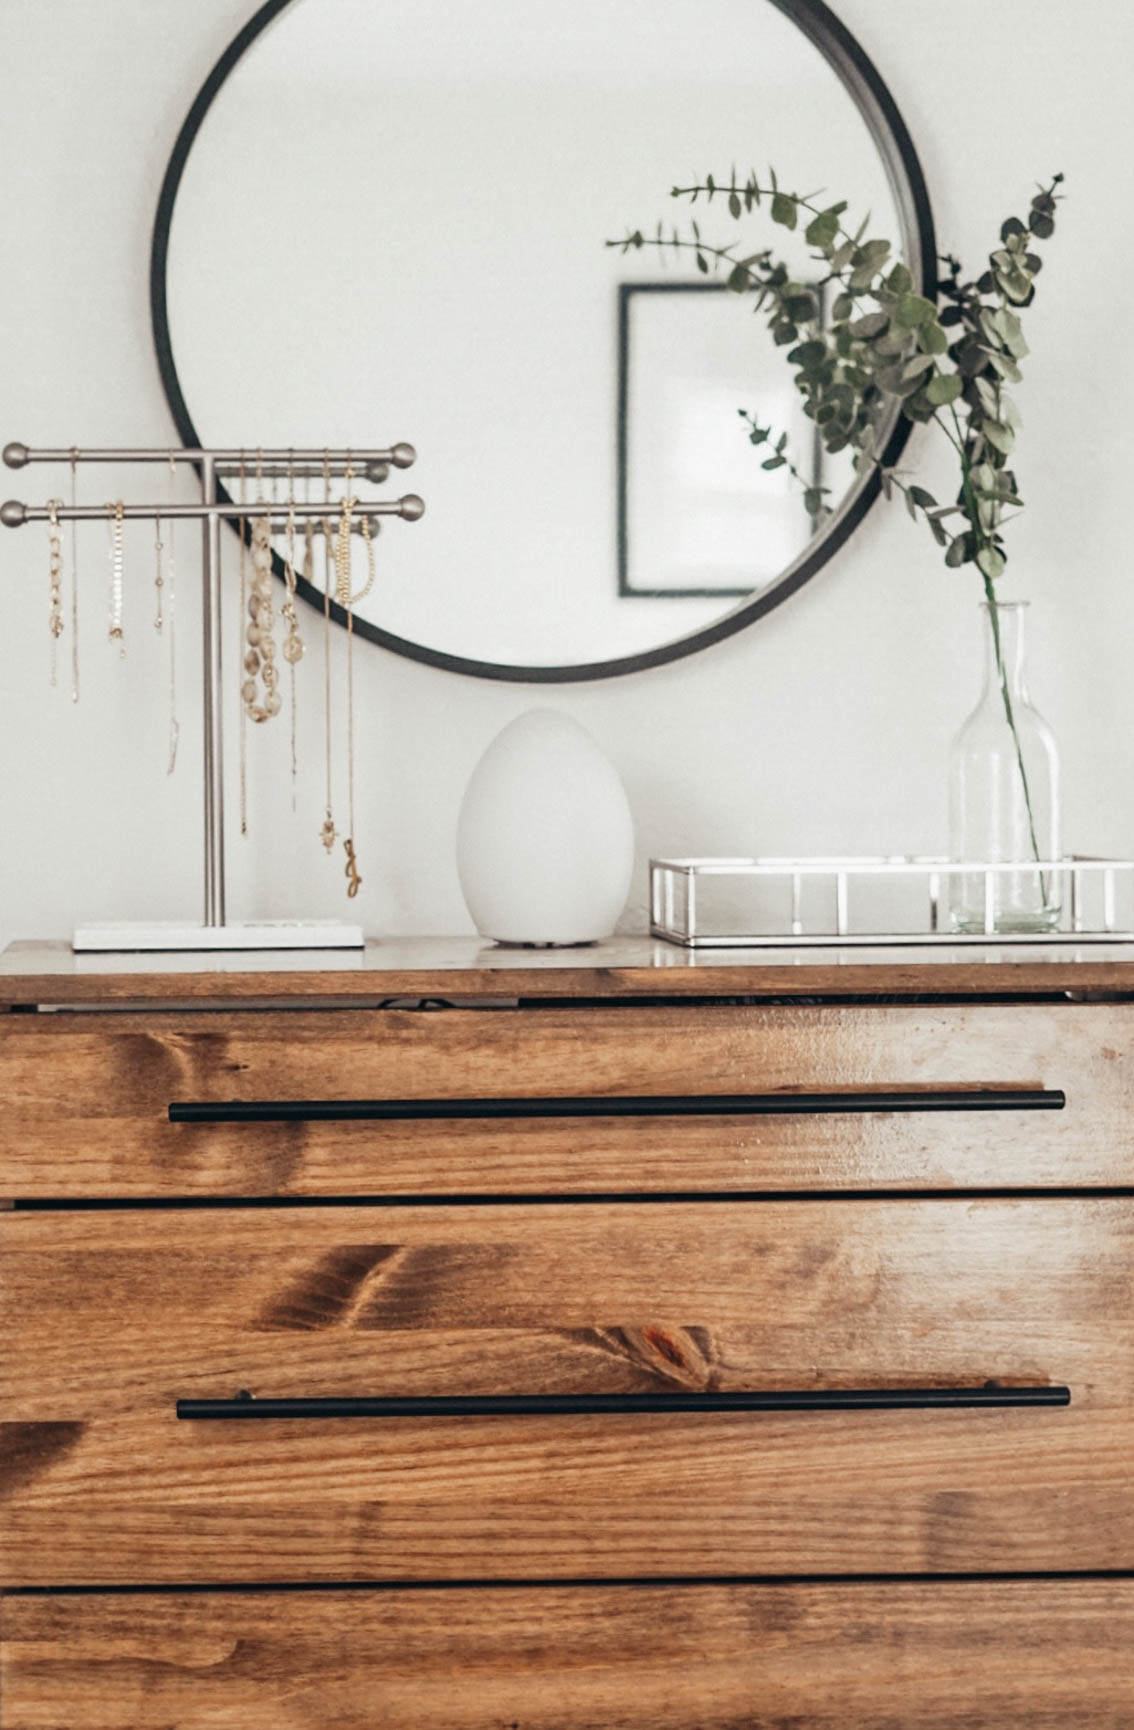
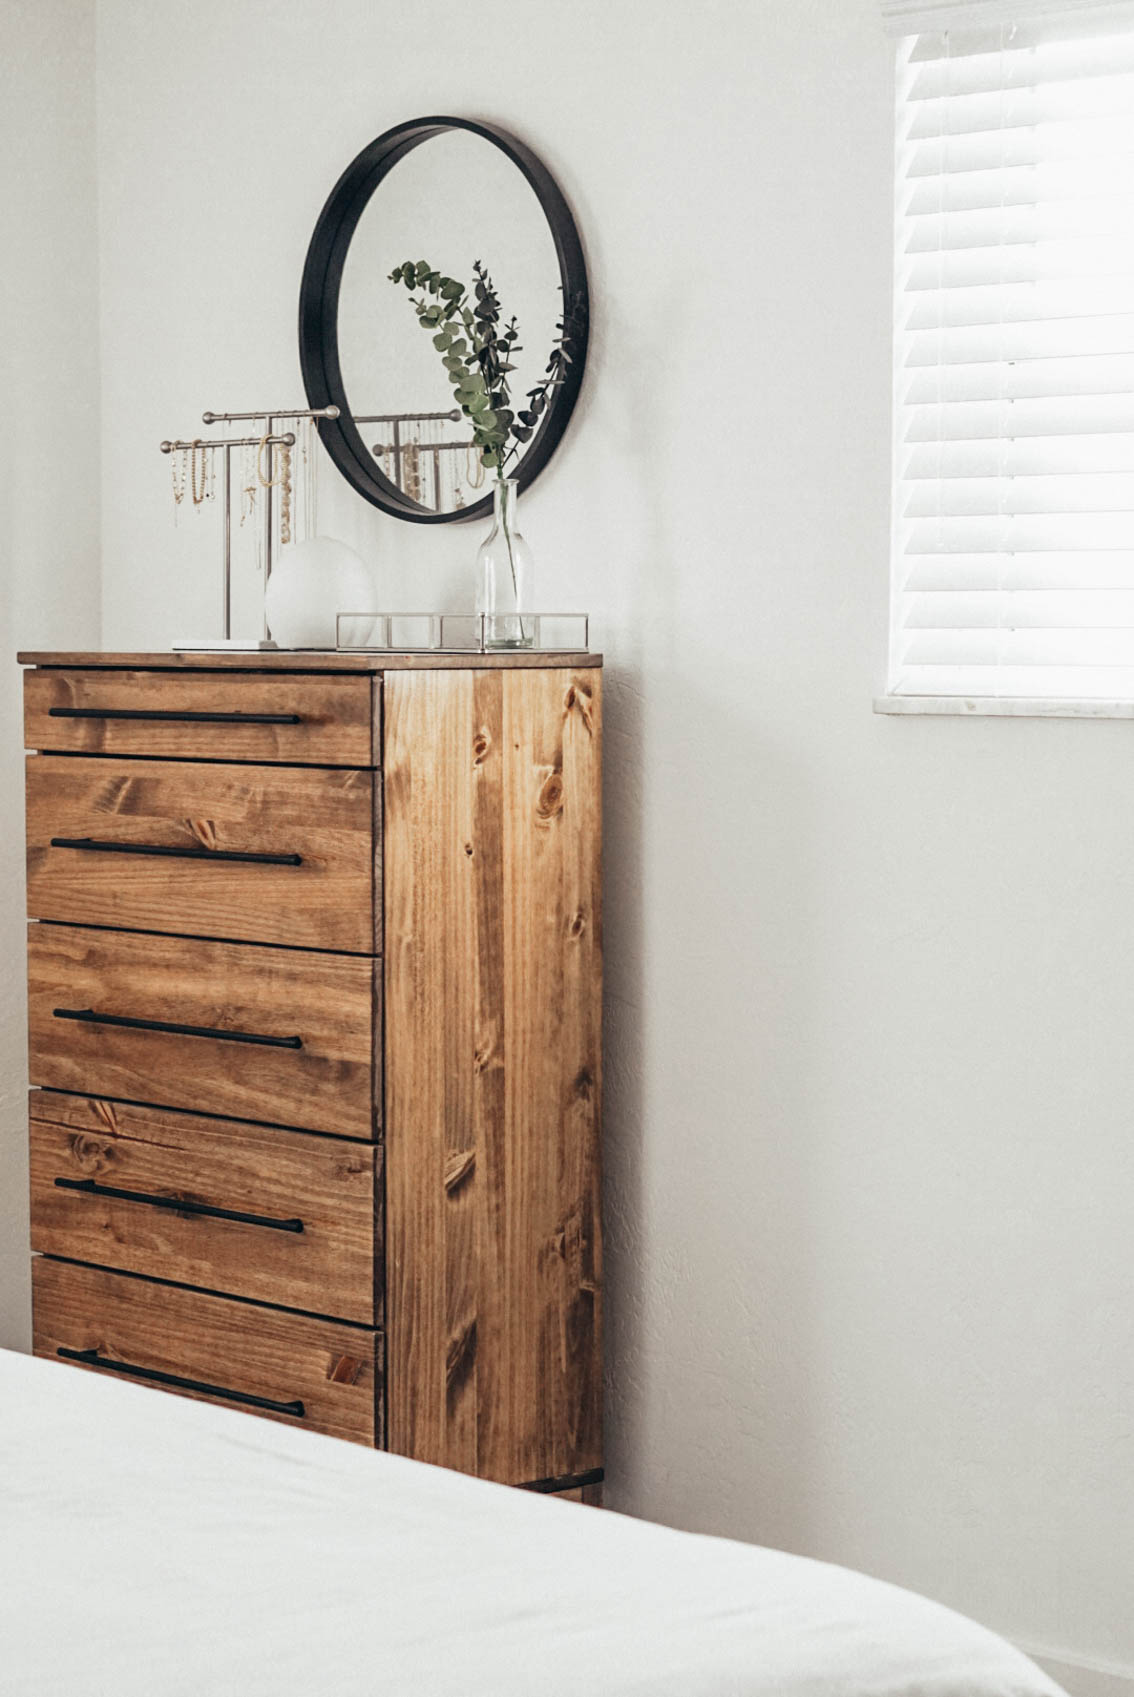
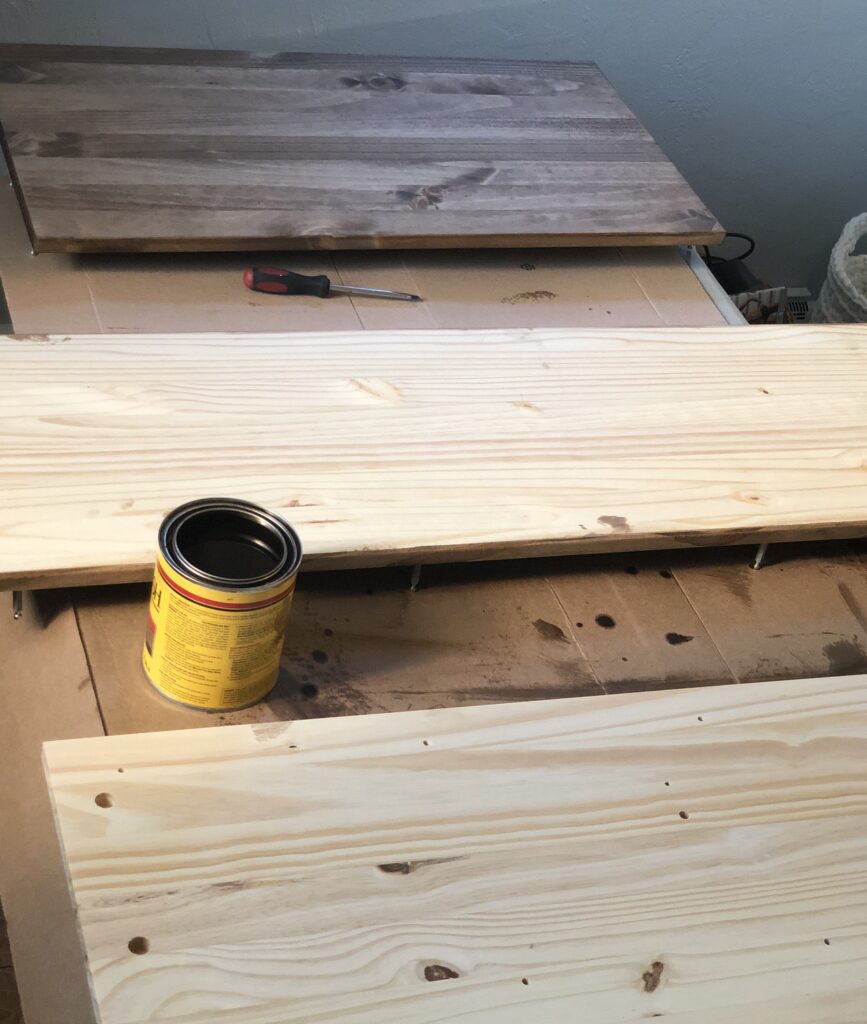
We chose IKEA’s Tarva collection in order to get the exact look we wanted. We have the tall 5-drawer chest as well as the 6-drawer chest. But there are additional pieces in the collection like a nightstand and bed frame if you wanted everything to match. This collection is nice because it comes as untreated wood that you can either leave as is, or stain/paint to make it your own. The wood is ready to go – so no sanding necessary before staining which made the process simpler.
Please keep in mind, we are not professionals here but this is what worked for Josh and I. This project does require some time and TLC (mostly for the drying times between layers) but ultimately it was not that bad! I feel like the worst part was assembling the IKEA furniture!
WHAT YOU NEED:
Wood Stain (we used this color)
Custom Hardware (optional)
Gloves (optional)
Drop Cloth (optional)
Wood Filler (optional if using custom hardware)
Drill (optional if using custom hardware)
HOW TO:
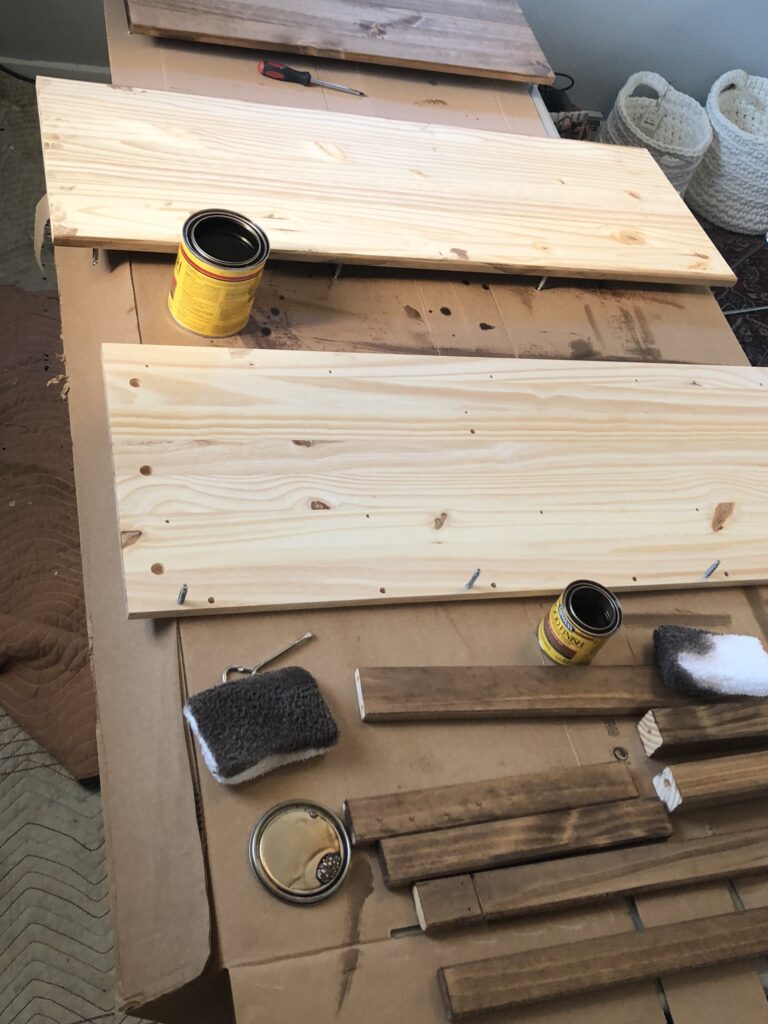
Wait to assemble your IKEA Tarva furniture/keep it in pieces
Put the pieces on a flat surface with a drop cloth beneath so you don’t ruin anything
(OPTIONAL) If you don’t want to use the knobs that come with the collection and plan to replace with custom hardware, you may need to use wood filler to close the pre-drilled holes. The spacing and size of the holes that will need drilled at the end will vary depending on the specific hardware and length that you choose
Using a stain rag or cloth, stain all sides of the pieces (we used this Mixwax color)
We only did one coat of stain but you can repeat until you reach your desired shade/color
Wait 24-48 hours for the stain to completely dry before applying polyurethane
Using a poly paint brush, apply a thin layer of polyurethane (we made the mistake of using a roller to apply it but we don’t recommend that because it made the poly kind of bubble)
Allow each layer of polyurethane to dry before sanding (about 4-6 hours)
Using 220 grit sandpaper, sand the polyurethane between each coat to allow the next layer to adhere to it better
Wipe any residue from the sanding away from the surface
Repeat poly application and sanding for a total of 3x
Build your IKEA Tarva furniture
(OPTIONAL) If using custom hardware, you may need to drill your own new holes at this time. Follow the instructions that come with your hardware.

Your advice, to stain first and assemble later, ensures that stain application is easier! Good idea, and simple. You & Josh saved lots of $$.
And, from someone who has put together LOTS of Ikea pieces, that’s a favorite activity of mine! I once did a desk with two drawers and a
pull-out computer shelf…so much fun to do! Looking forward to viewing your next project!
Yup! Furniture is so expensive especially the pieces that were this color so this was the way to go for our first bedroom set! :)