

I had a little extra time today to do something beyond the basic manicure to my nails. I usually never spend money on getting my nails done at a salon because I found that A.) I can do just as good of a job, B.) Gel and acrylic destroys my nail bed for weeks after removing it, and C.) I just don’t think it’s worth it anymore with all the nail products available to us in stores.
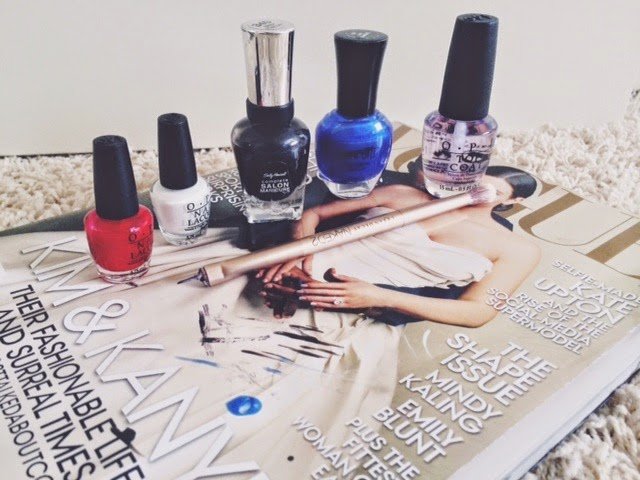
So I got to dabbling with this nail art. I used 2 coats of OPI Big Apple Red and let it thoroughly dry. That way the base wasn’t sticky and the lines for the evil eye would not smear or blend with the red. For the make-shift “tool” I used to create the evil eye, I found an old makeup brush and cut the bristles with a scissors so that I could stroke thin lines. This technique can be used for all sorts of designs as well!
(Colors in the picture above are in order of what I did first to last). I started with the white and made my base for the eye. I then outlined with the thin black line, followed by the blue dot in the center. I added the final touches with the tiny black dot in the very center and of course did a top coat after everything was set and dry.
I just love the look of this evil eye. What kinds of creative nail tips and tricks do you have?